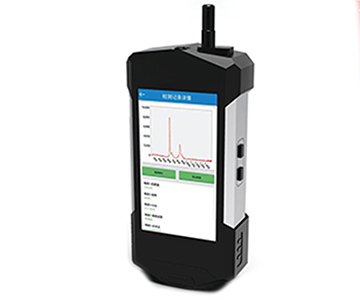
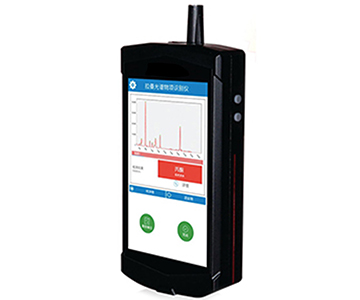
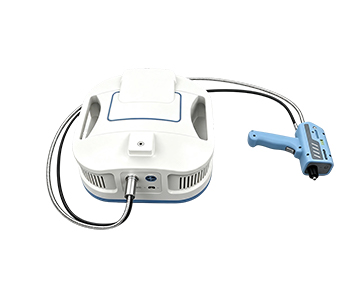
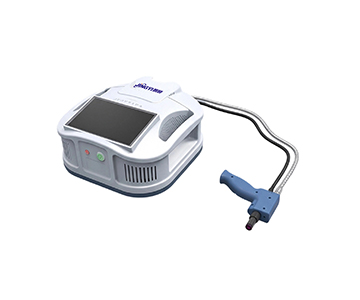
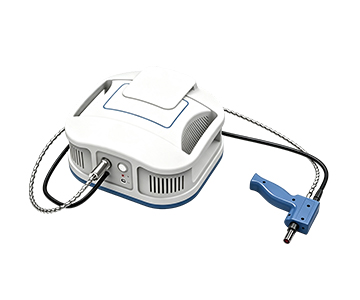
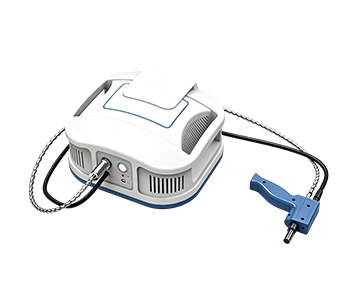
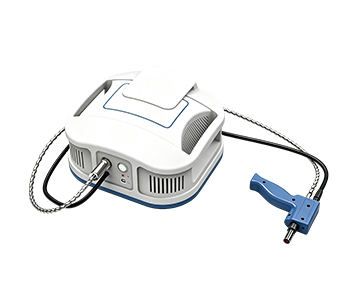
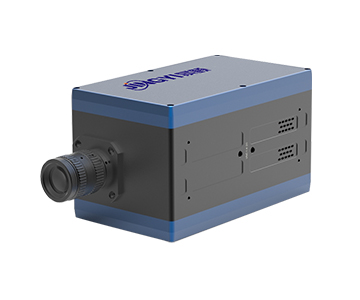
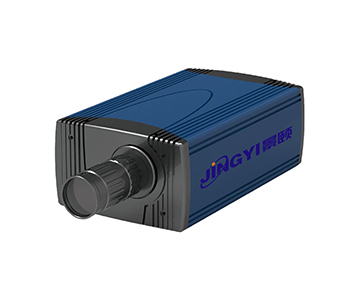
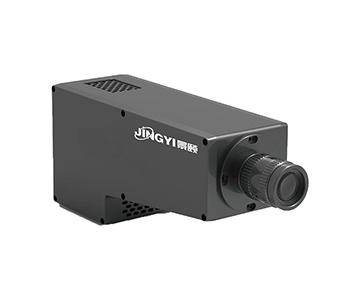
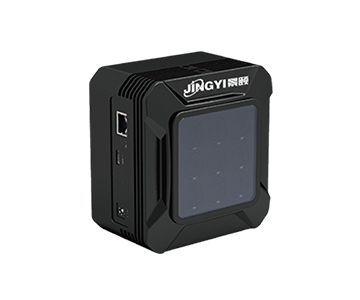
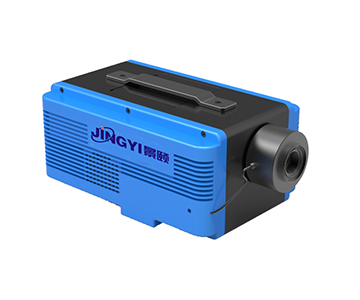
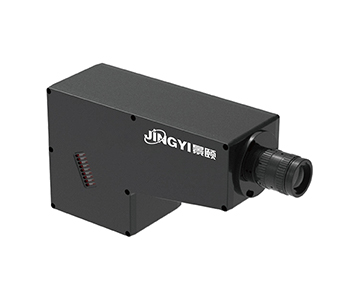
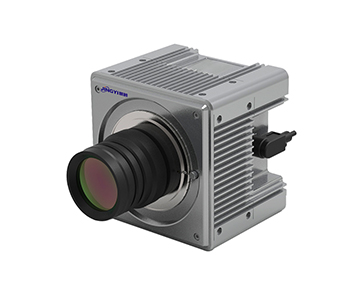
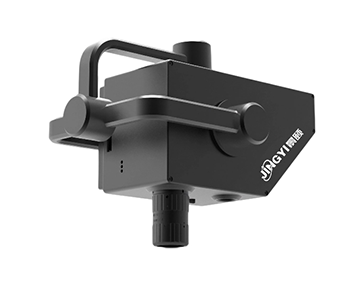
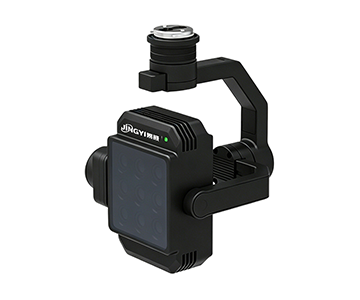
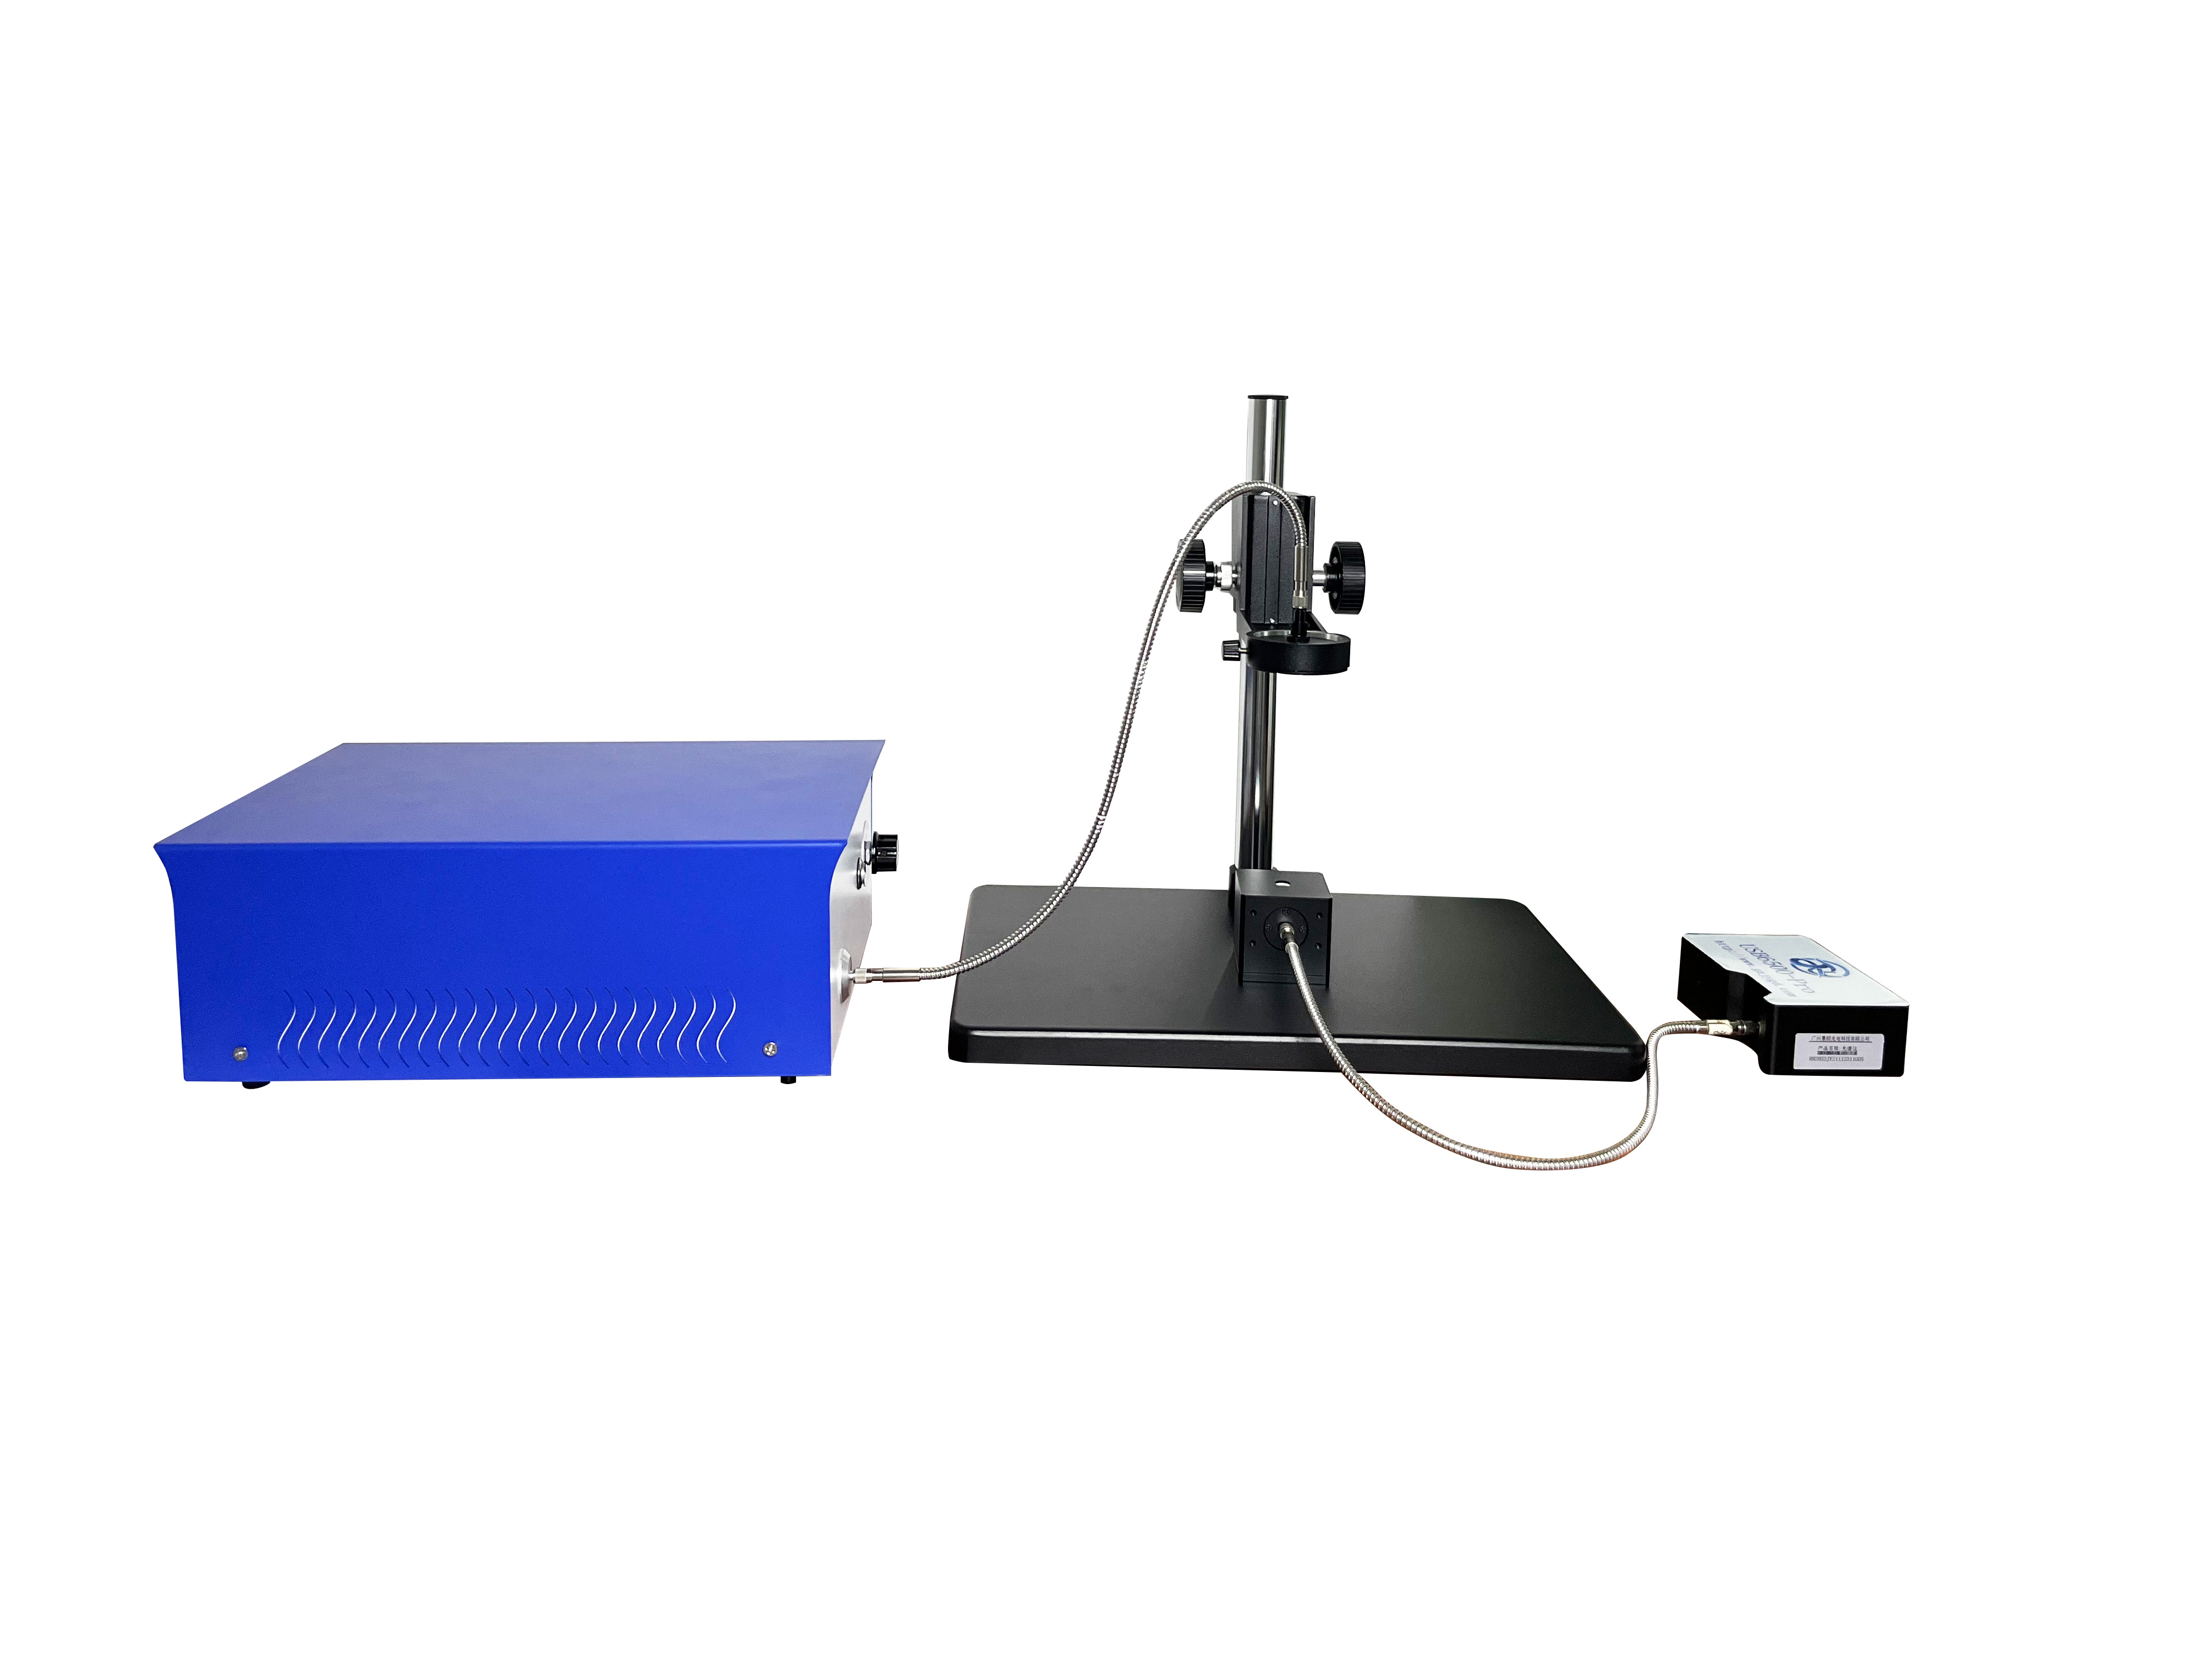
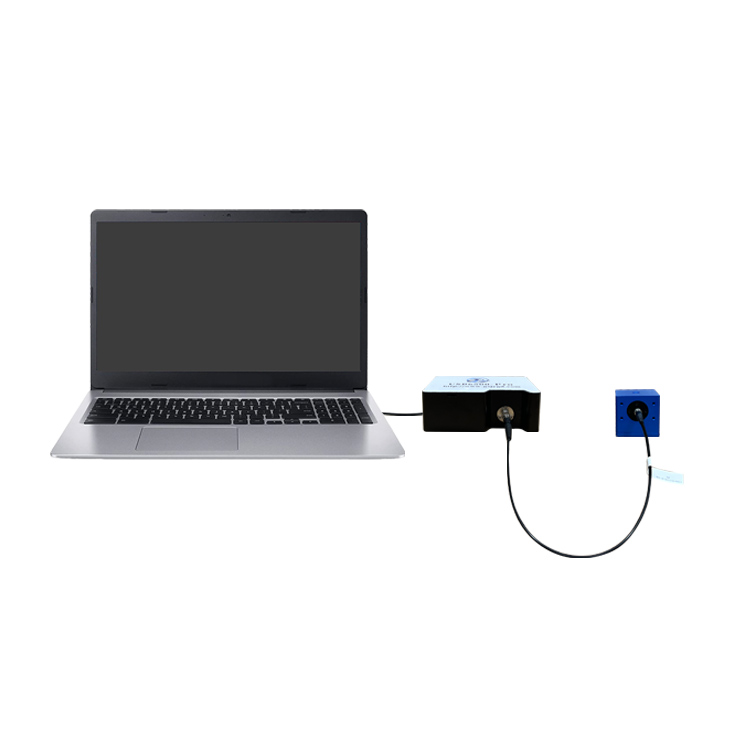
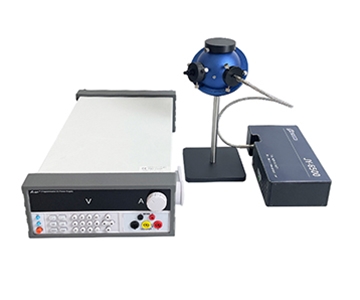
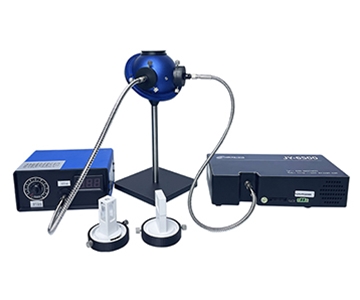
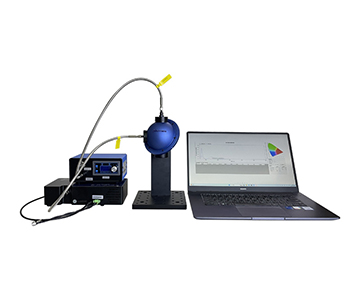
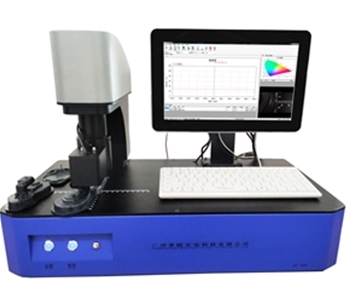
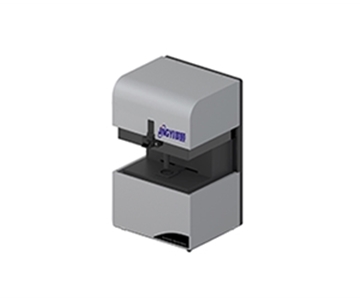
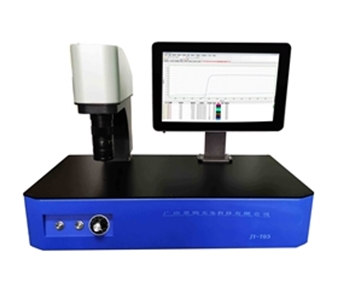
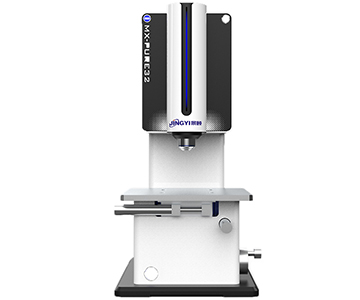
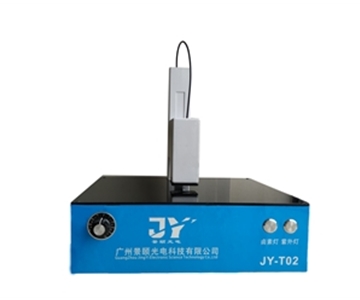
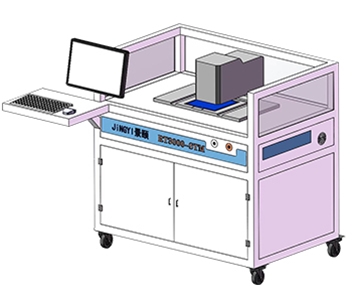
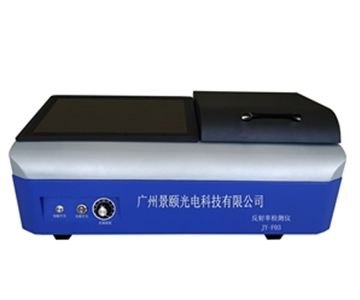
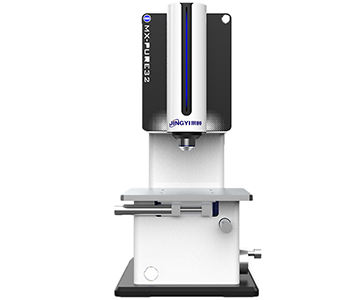
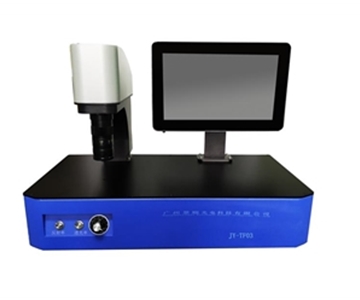
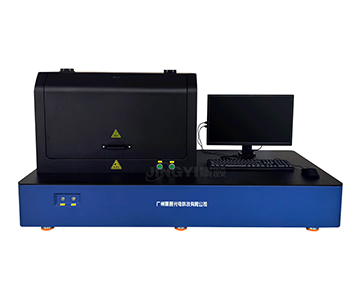
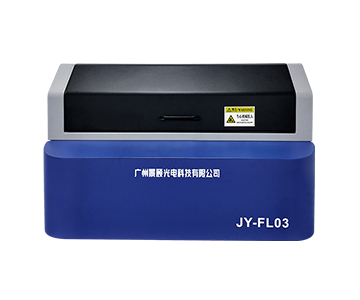
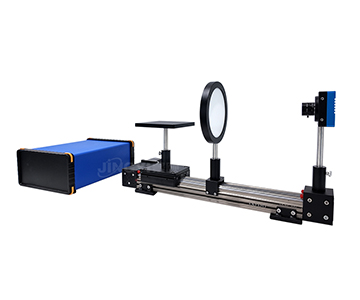
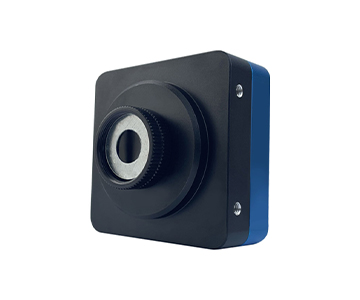
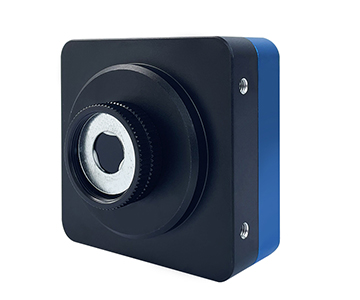
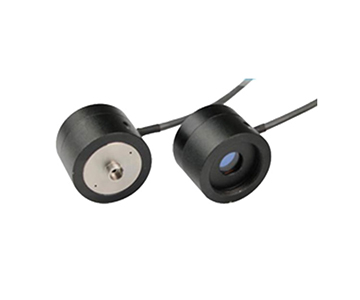
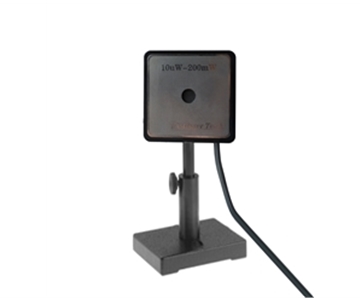
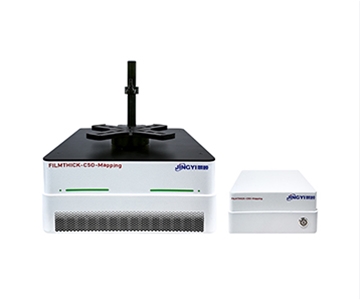
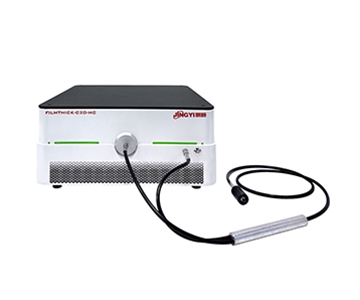
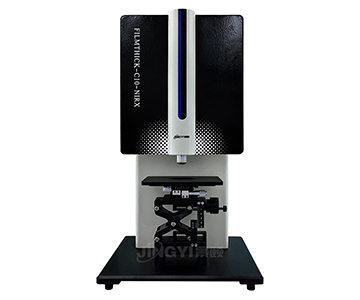
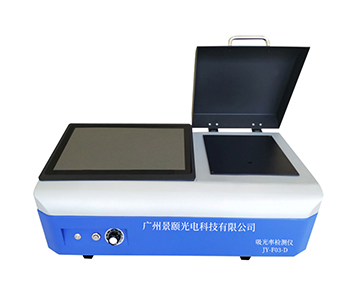
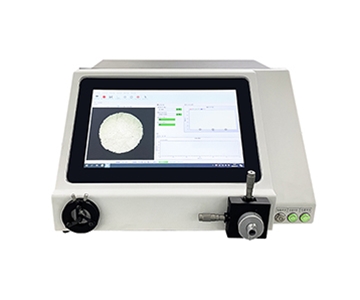
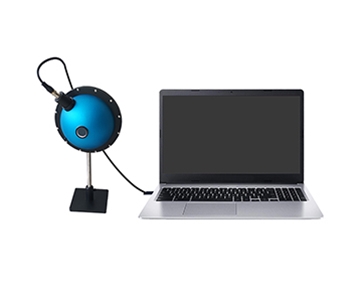
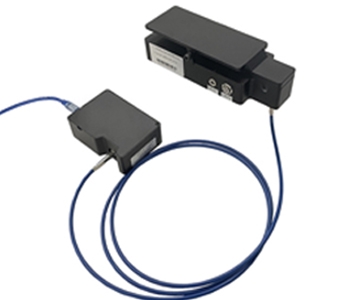
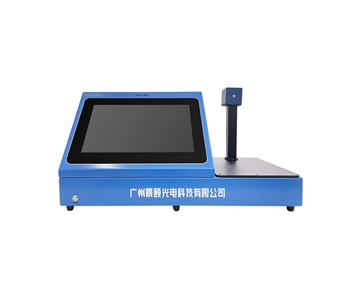
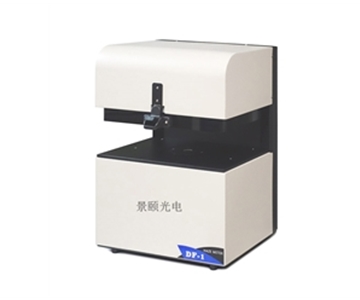
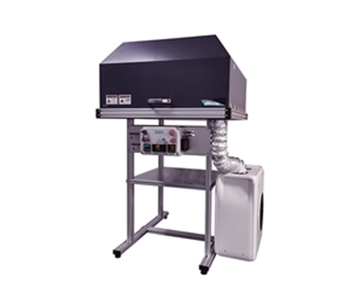
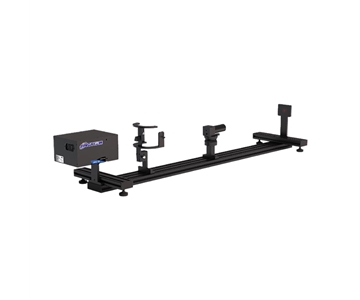
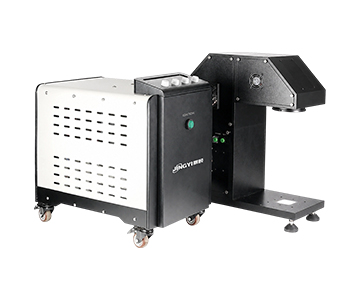
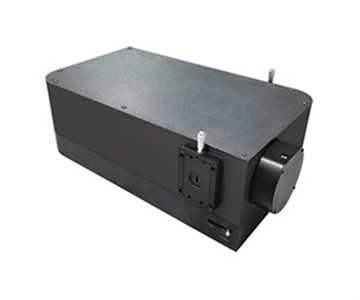
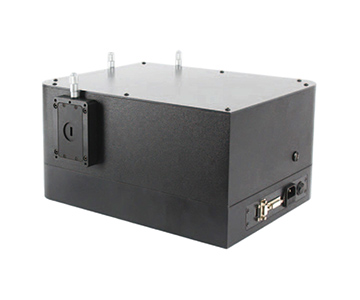
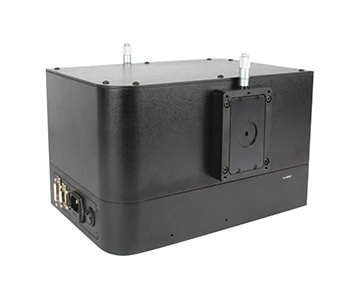
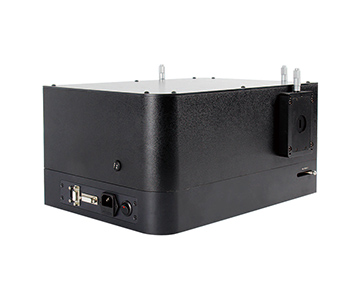
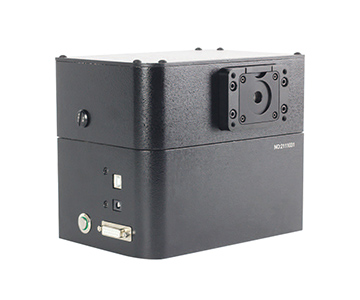
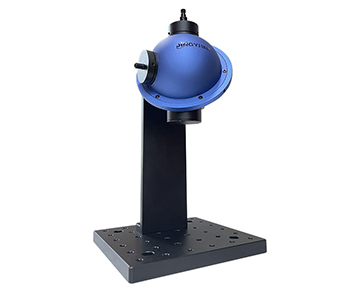
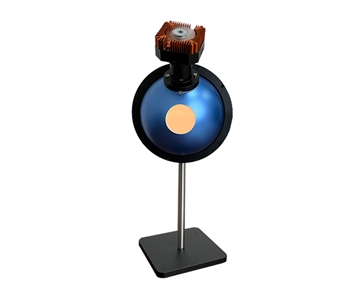
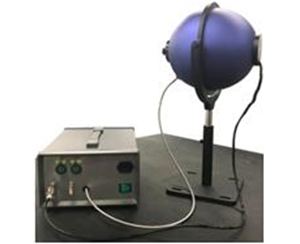
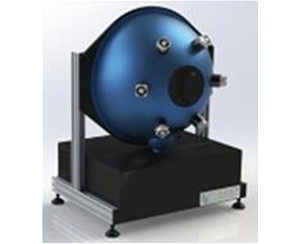
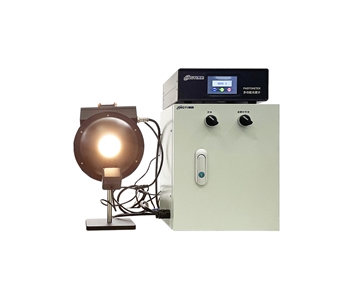
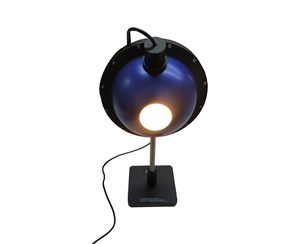
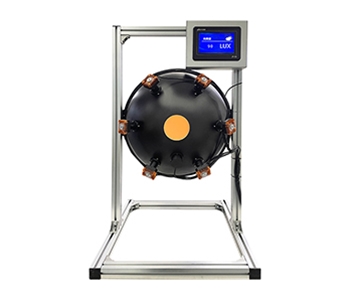
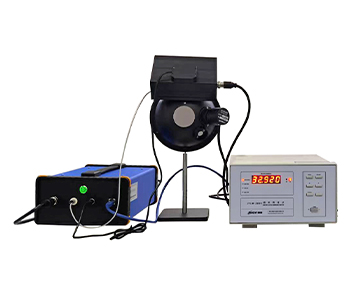
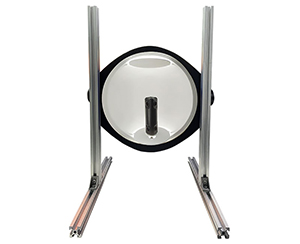
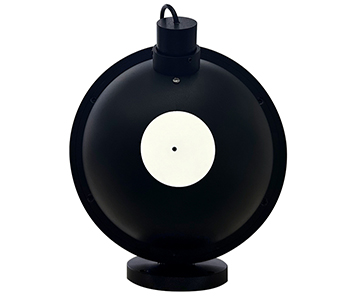
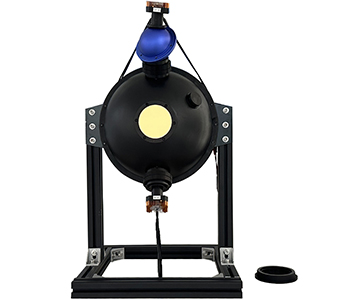
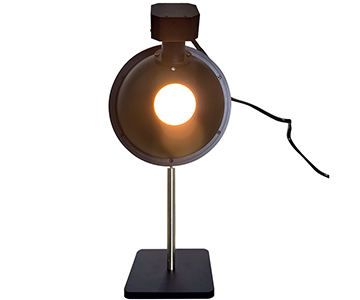
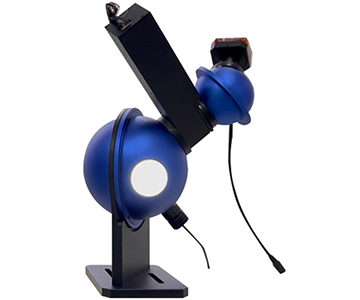
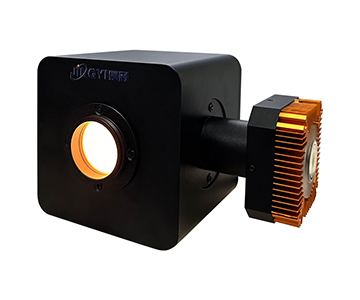
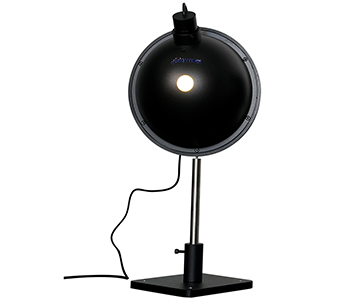
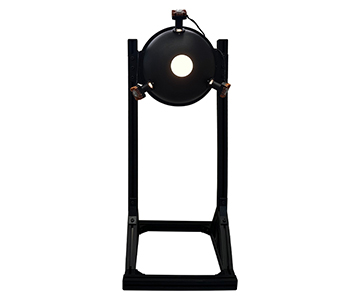
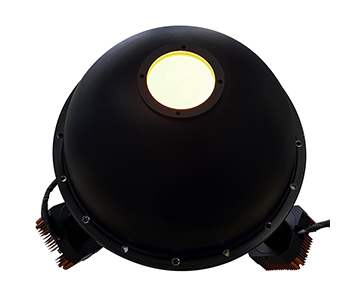
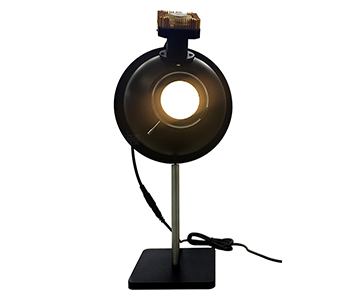
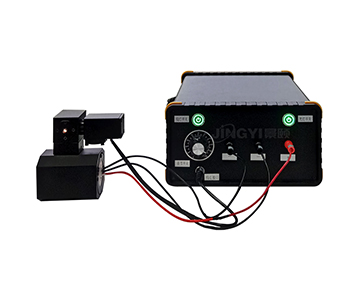
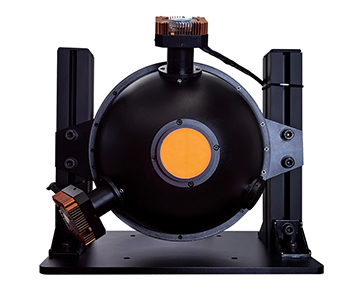
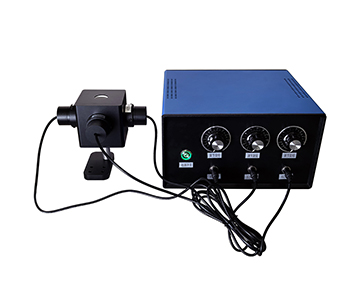
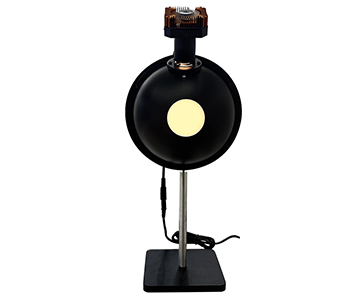
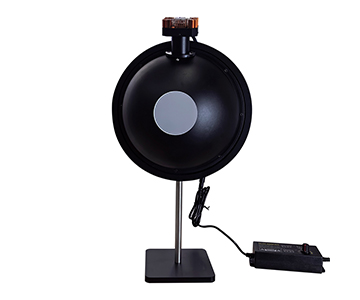
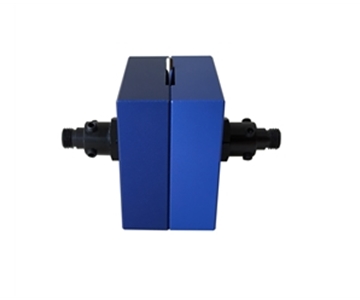
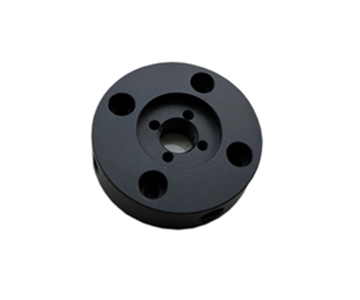
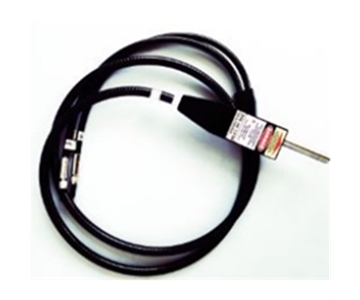
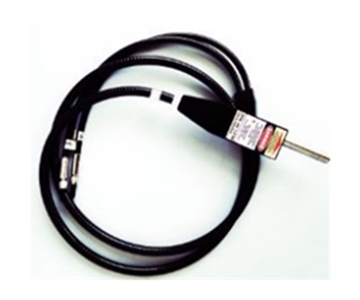
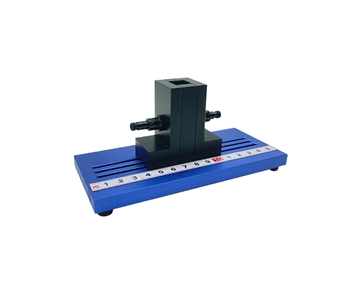
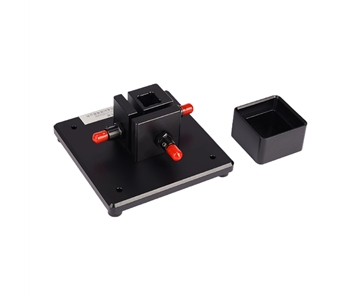
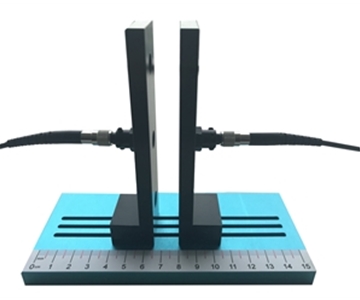
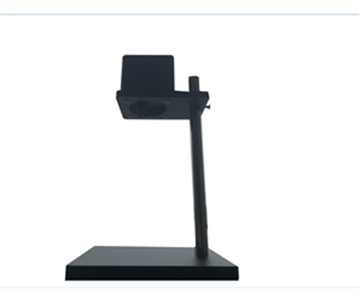
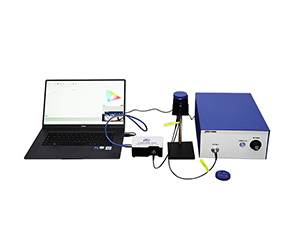
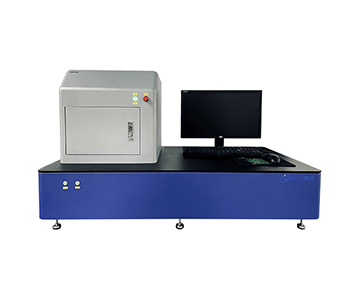
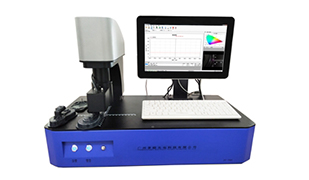
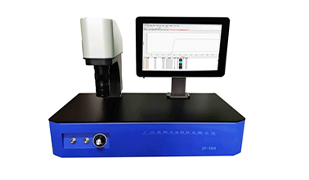
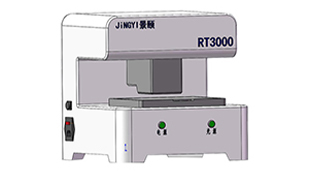
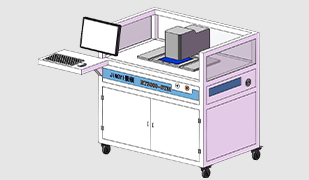
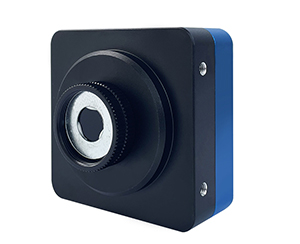
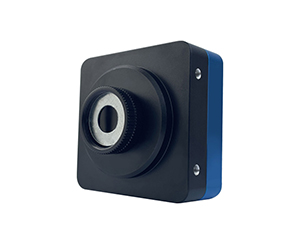
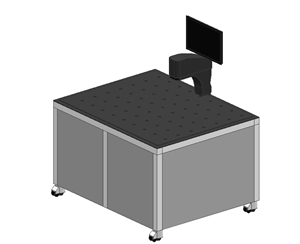
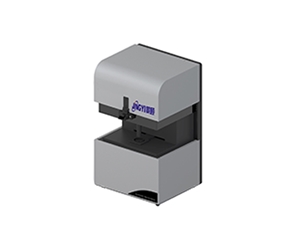
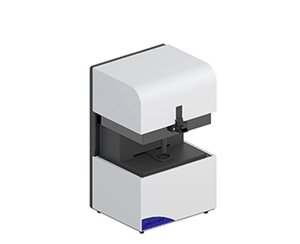
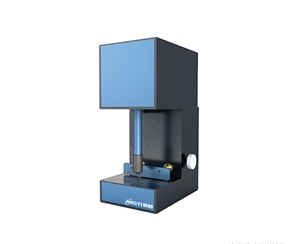
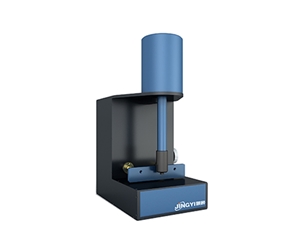
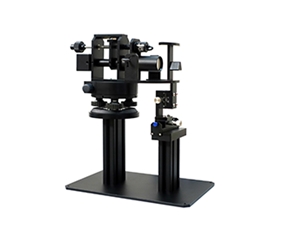
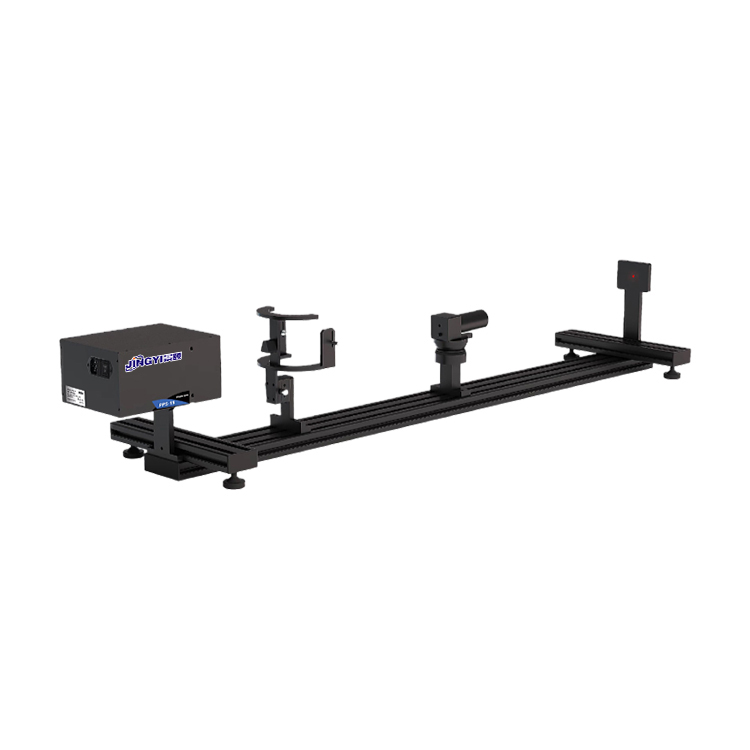
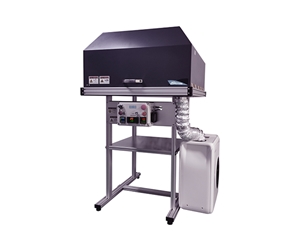
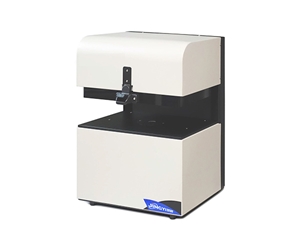
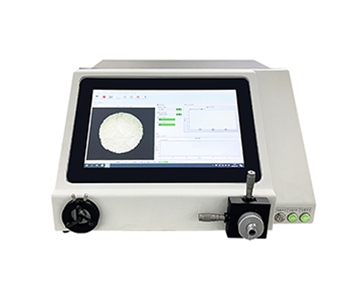
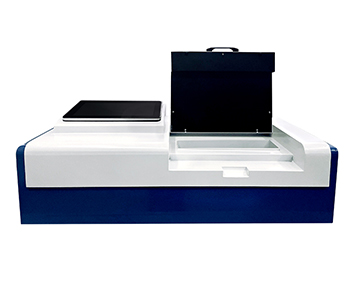
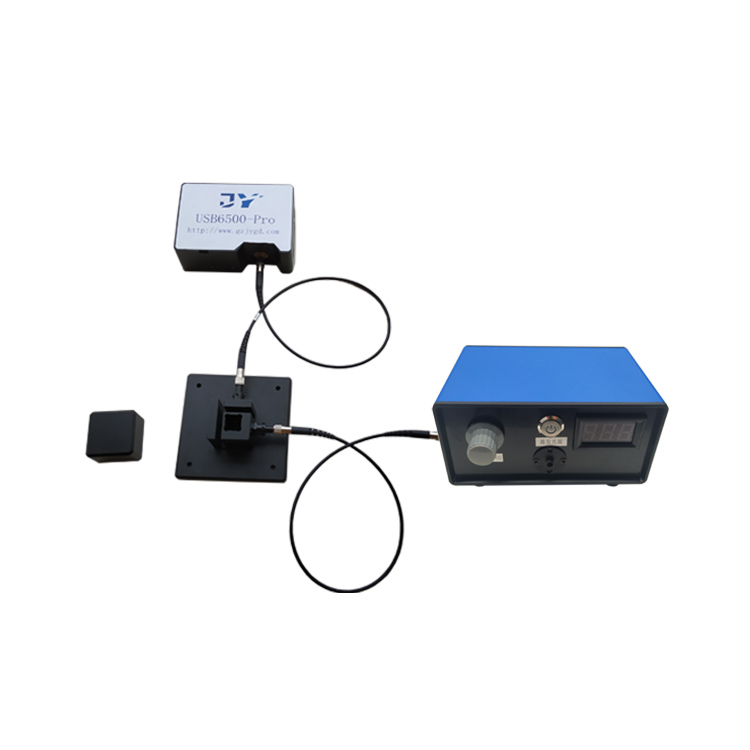
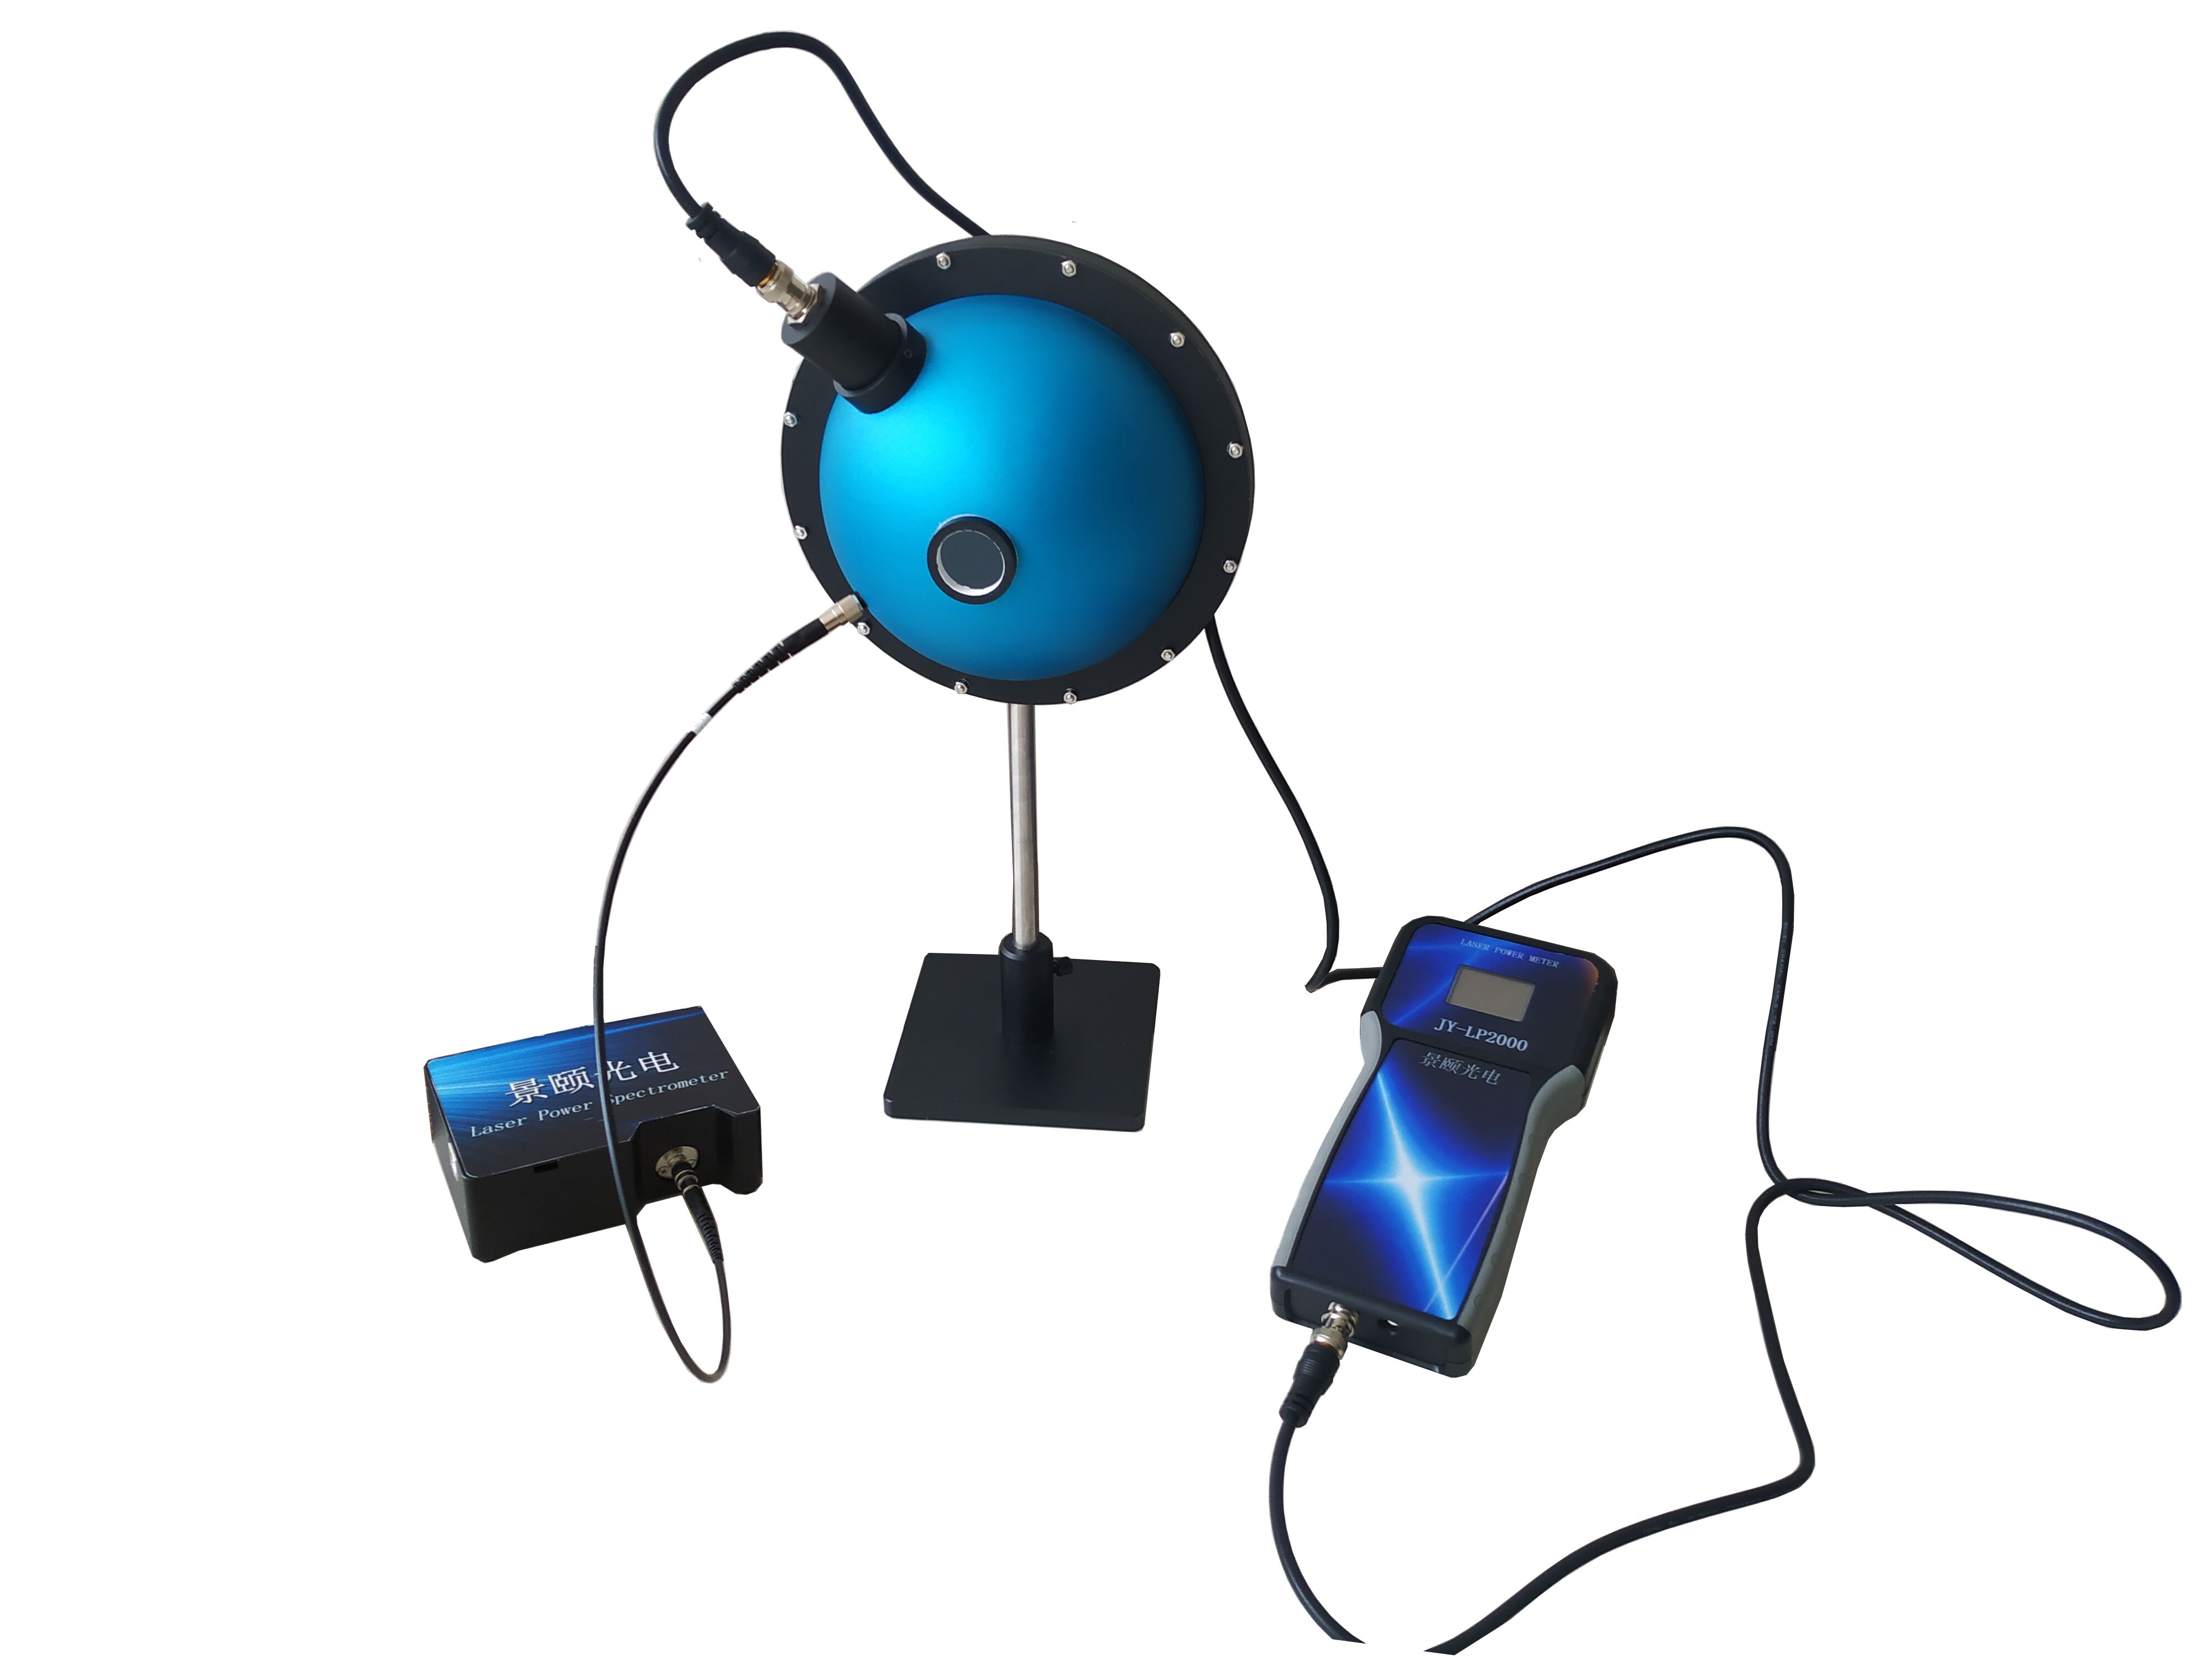
Beam profilers using camera sensors and software fitting serve as reference tools for observing beam diameter, centroid, ellipticity, and energy distribution in laser R&D and production lines. Linearity—the ability to maintain stable diameter and energy integral readings across varying exposure, gain, and power—matters more than a single pretty image. This guide explains how beam profilers work, where they help, common mistakes, and how to verify linearity independently.
What a Beam Profiler Actually Does
A camera‑based beam profiler is essentially a he
In laser labs and production lines, the real fear is not missing a measurement but getting inconsistent numbers without knowing why. Power meters report total energy but cannot reveal whether the beam is fat, tilted, or lopsided. In fiber alignment coupling, coupling efficiency is highly sensitive to beam position and symmetry. In collimator testing, pointing jitter becomes alignment error downstream. A profiler turns “looks okay” into hard data.
Why Linearity Outweighs a Single Pretty Image
Linearity is not abstract. It means that when you sweep exposure from low to high, the reported beam diameter does not jump abruptly; when you change incident power through calibrated attenuators, the energy integral scales proportionally; and the centroid stays put regardless of brightness‑weighting algorithms.
A profiler that looks good at one exposure setting but drifts at another is a liability on a production line. The software should maintain a repeatable ratio between diameter and energy integral across a reasonable exposure range. Automatic gain is convenient for quick checks, but for acceptance testing, manual exposure with multiple power steps provides comparable data.
Inside the Device: Three Components That Matter
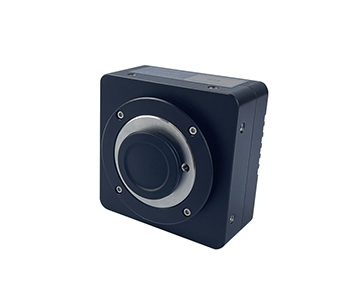
Sensor: The Film That Determines Detail
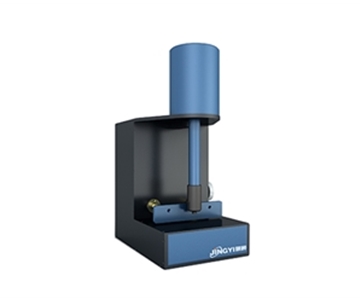
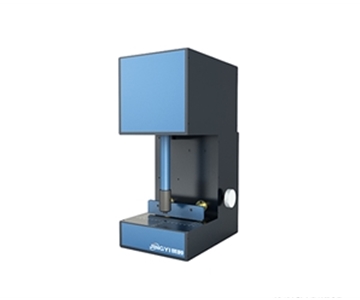
The area sensor is the camera’s film. Pixel size dictates edge resolution. A 2.9 μm pixel resolves finer edge details than an 11 μm pixel. A basic model with 2.9 μm pixels measures down to 29 μm beam diameter; a large‑aperture model with 11 μm pixels starts at 110 μm but offers a 22.5 mm × 22.5 mm clear aperture. On a production line, small spots demand fine pixels; large spots need aperture area. Finer pixels are not universally better—large spots waste resolution on empty background.
Attenuator: The Sunglasses That Protect the Sensor
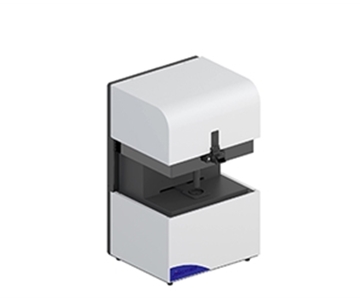
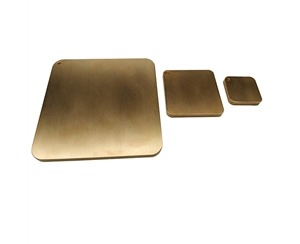
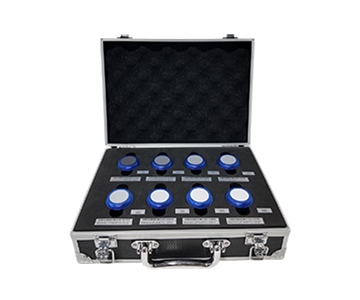
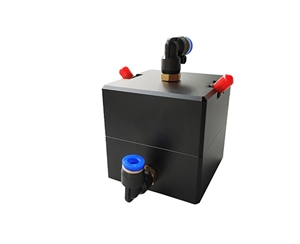
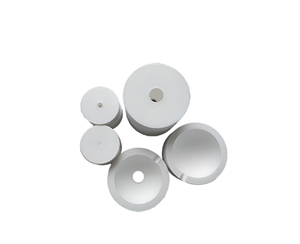
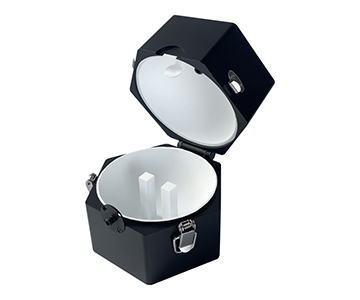
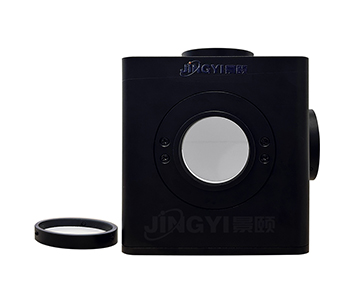
Before laser light hits the sensor, it often passes through attenuating filters. Standard configurations include four attenuator plates, with options for higher power up to 1000 W. This is not a cosmetic filter; it prevents detector saturation. Saturation flattens the bright core, skewing the fitted diameter larger. In bright sunlight, you lose detail without sunglasses. Similarly, reducing power or adding attenuation to keep peak grayscale below maximum is more reliable than chasing “the brightest image.”
Software: The Report Generator That Speaks Engineer
Raw data is a 2‑D grayscale map. Software converts it into beam diameter (X/Y, major/minor axis), ellipticity, Gaussian fit, centroid, and divergence angle. Pseudo‑color 2‑D and 3‑D plots help visual inspection, but the numbers drive decisions. In R&D, engineers compare how those numbers shift when parameters change. Linearity requires that diameter and energy integral maintain a repeatable proportion across the exposure range, not just look good at one setting.
Two Applications Where Profilers Solve Real Problems
Fiber Alignment Coupling: From Guesswork to Centroid Tracking
During a night shift at a communications laser collimator station, an engineer noticed the beam spot drifting right, then up, after mirror adjustments. Each tweak changed coupling power unpredictably—first up 0.8 dB, then down 0.3 dB. Switching the profiler to centroid overlay and capturing 20 frames revealed the centroid tracing a 0.2 mm circle. The culprit was not the mirror mount but thermal drift in the fixture. After adding a heat‑sinking pad, centroid jitter shrank and coupling power stabilized. The profiler did not directly raise power; it converted “feel” into a traceable trajectory.
Incoming Inspection of Optical Components: Symmetry as a Filter
An optical component supplier performed incoming inspection on lenses. Visual checks showed round output spots, but profiler measurements revealed an ellipticity of 0.82 (short axis/long axis) for one batch, with lower Gaussian fit quality than other batches. Modules assembled with these lenses showed poor far‑field pointing repeatability. Post‑return analysis traced the issue to coating clamping offset. Ellipticity, Gaussian fit, and energy distribution act as sieves in incoming QC—catching obvious asymmetry, energy tails, and poor fits before they reach the production line.
Three Common Mistakes That Trip Up New Users
Mistake 1: “If I Can See the Spot, It’s Accurate”
Imaging is not measuring. Saturation, oblique incidence, back‑reflection, or misplaced attenuators can make an image look acceptable while diameter and energy readings drift. Check peak grayscale; test two exposure settings and confirm diameter changes stay within tolerance; disable auto‑gain for comparison. The profiler’s value lies in repeatable numbers, not screen brightness.
Mistake 2: “Smaller Pixels Always Mean Better Accuracy”
Small pixels help resolve fine edges, but large spots consume more pixels, increasing data processing load and thermal drift effects. A 2.9 μm pixel suits small spots; an 11 μm pixel with large aperture fits big beams. Selection should consider spot diameter versus clear aperture and wavelength. A 20 μm spot does not benefit from a large aperture, and a 15 mm spot will not fit on a small sensor.
Mistake 3: “One Good Gaussian Fit Means Pass”
A single high Gaussian fit may result from a lucky exposure. Linearity demands scanning exposure time or incident power to see if diameter, centroid, and energy integral hold a stable relationship. Fit quality is an instantaneous shape metric; linearity is a cross‑parameter repeatability metric. For production stability, the latter matters more.
How to Verify Linearity Without Marketing Hype
Step‑by‑Step Practical Check
Fix wavelength and attenuation. Set manual exposure to five levels that avoid grayscale overflow. At each level, capture 10 frames and record mean diameter, centroid, and energy integral. Plot energy integral on the X‑axis and diameter on the Y‑axis. The result should be approximately horizontal or show a controlled slope. If energy increases 30 % and diameter jumps 20 %, check for saturation, back‑reflection, or auto‑gain interference. A 12‑bit depth provides grayscale headroom, but no bit depth rescues a saturated image.
Standards Reference for Defensible Reports
When writing inspection reports, cite measurement definitions. GB/T 26599.1‑2011 (identical to ISO 11146‑1) specifies laser beam width, divergence angle, and beam propagation ratio. Using this framework ensures that “diameter 0.42 mm” is tied to a defined moment method and propagation axis. Different definitions can yield noticeably different numbers for the same beam.
Limitations and Honest Boundaries
Camera‑based profilers capture the full beam in one frame, ideal for shape, symmetry, and centroid jitter. However, a large‑aperture model with 11 μm pixels loses fine edge detail compared to a 2.9 μm basic model. For spots under 50 μm, the large aperture sacrifices resolution; for spots over 20 mm, the basic model cannot contain the beam. High‑power and infrared wavelengths add constraints: improper attenuation causes saturation, and IR models (400‑1800 nm) require verified wavelength response, exposure settings, and cooling. An IR model with 10 °C below‑ambient cooling does not eliminate the need for validation in hot equipment cabinets. Linearity cannot compensate for reversed attenuators, dirty lenses, or stray light.
Frequently Asked Questions
Q1: How does a beam profiler differ from a power meter?
A power meter reports total optical power or trend over time but cannot describe beam shape, width, or pointing. A beam profiler delivers 2‑D energy distribution, diameter, centroid, ellipticity, fit quality, and divergence angle. The two tools complement each other during optical alignment; neither replaces the other.
Q2: Which parameter matters most for small spots?
Prioritize pixel size and measurable lower limit. A basic model with 2.9 μm pixels measures from 29 μm. Ensure peak grayscale does not overflow, and value multi‑frame diameter repeatability over a single absolute reading.
Q3: Why does beam diameter change when I adjust exposure?
The system may be near saturation, or auto‑gain may be active. Switch to manual exposure, leave headroom in peak grayscale, and capture multiple frames for averaging. If diameter still varies non‑linearly with energy, inspect attenuation ratio, back‑reflection, and stray light.
Q4: How do I choose between basic, large‑aperture, and IR models?
Match spot diameter, wavelength, and clear aperture. Small visible‑light spots call for a fine‑pixel basic model. Spots in the millimeter range or far‑field large spots need a large‑aperture model. Near‑IR or short‑wave IR wavelengths require an IR model with verified spectral response.
Q5: How can I independently verify a beam profiler after delivery without contacting the manufacturer?
Use known attenuator step changes to record energy integral and diameter. Cross‑check beam width and divergence definitions against GB/T 26599.1‑2011 (ISO 11146‑1). Fix fixture, wavelength, and attenuation, then run multi‑frame repeatability tests. Document exposure, gain, attenuation, and wavelength so others can reproduce your results.
About This Guide
Data Sources
: Product documentation specifying aperture, pixel size, resolution, measurable range, and functions; GB/T 26599.1‑2011 (equivalent to ISO 11146‑1); GB/T 32831‑2016 public standards; in‑house validation reports from 12 years of optical metrology practice.
Author
: Cai Xiaodong, Senior Application Engineer, Jingyi Optoelectronics, 12 years in industrial precision measurement equipment.
Disclosure
: Jingyi Optoelectronics manufactures beam analysis systems. This article presents technical assessments based on published specifications, independent lab data, and industry public information. No compensation was received from third‑party brands mentioned.
Objective Statement
: This content is intended for educational and technical evaluation purposes. Equipment selection should always include independent proof‑of‑concept validation under your specific process conditions.
Last Updated
: September 2026
For detailed specifications and application notes on beam profilers, search "Jingyi Optoelectronics beam profiler" or visit our technical library.